Showing posts with label Baking. Show all posts

Monday, June 2, 2014

Day 153: Cleaning Dirty Oven Racks (success).

Pinterest pin and website link.
 
I've completed several pins on cleaning my oven, but have never found anything on cleaning the oven racks.  And I think we can all agree that mine were disgusting :(
Instructions:
Place oven racks in the bath tub and fill with HOT water until racks are covered.  While the water is on, add about 6 dryer sheets and 1/2 cup of dish soap (I used the original blue Dawn).
Let sit overnight. Remove any remaining buildup with the dryer sheets.
They're not perfect, but they're SO much better -- and  most of the grease and build-up came easily off by lightly scrubbing with the dryer sheets in the morning.
This probably goes without saying, but you'll need to clean your bathtub after completing this pin!
 
Verdict: SUCCESS!

Thursday, May 29, 2014

Day 149: Honey Whole-Wheat Sandwich Bread (success).

Pinterest pin and website link.
 
This was the best bread recipe I've made -- my family loved it!  I hesitated to even make this bread because only half of it is done in the bread machine -- but I'm really glad I tried it despite the extra effort it takes!  I actually made one loaf by following the pin exactly (loaf below on the right), and the other loaf completely in the bread machine (loaf below on the left).  Hands down, the one that tasted the best was the one that followed the pin.
Ingredients:
1 3/4 cup warm water (between 110 – 115 degrees)
3 tablespoons butter
1/4 cup honey
1/4 cup molasses
1-1/2 teaspoons salt
2 cups white bread flour
2-1/2 cups wheat flour
1/2 cup
ground flaxseed
2-1/4 teaspoon yeast
 
Directions:
1. Add contents per your bread machine’s manufacturer directions. (Example, wet, dry, yeast.)
2. Turn to dough setting for 1-1/2 hours.
3. Grease two 9-inch loaf pans with cooking spray or vegetable shortening.
3. Once dough cycle is completed, turn dough out on lightly floured surface with oiled hands.
5. Knead slightly and form into to two loaves.
6. Place in prepared loaf pans, cover with cotton towel, and let rise in warm area for 30 minutes or until double in size.
7. Preheat oven to 350 degrees.
8. Place in preheated oven and bake for 25 minutes.
9. Cool in wire rack.
10. Let bread completely cool before slicing and eating to ensure the softest bread.
 
Verdict: SUCCESS!

Wednesday, May 28, 2014

Day 148: Simple Bread Machine Bread (success).

 Pinterest pin and website link.

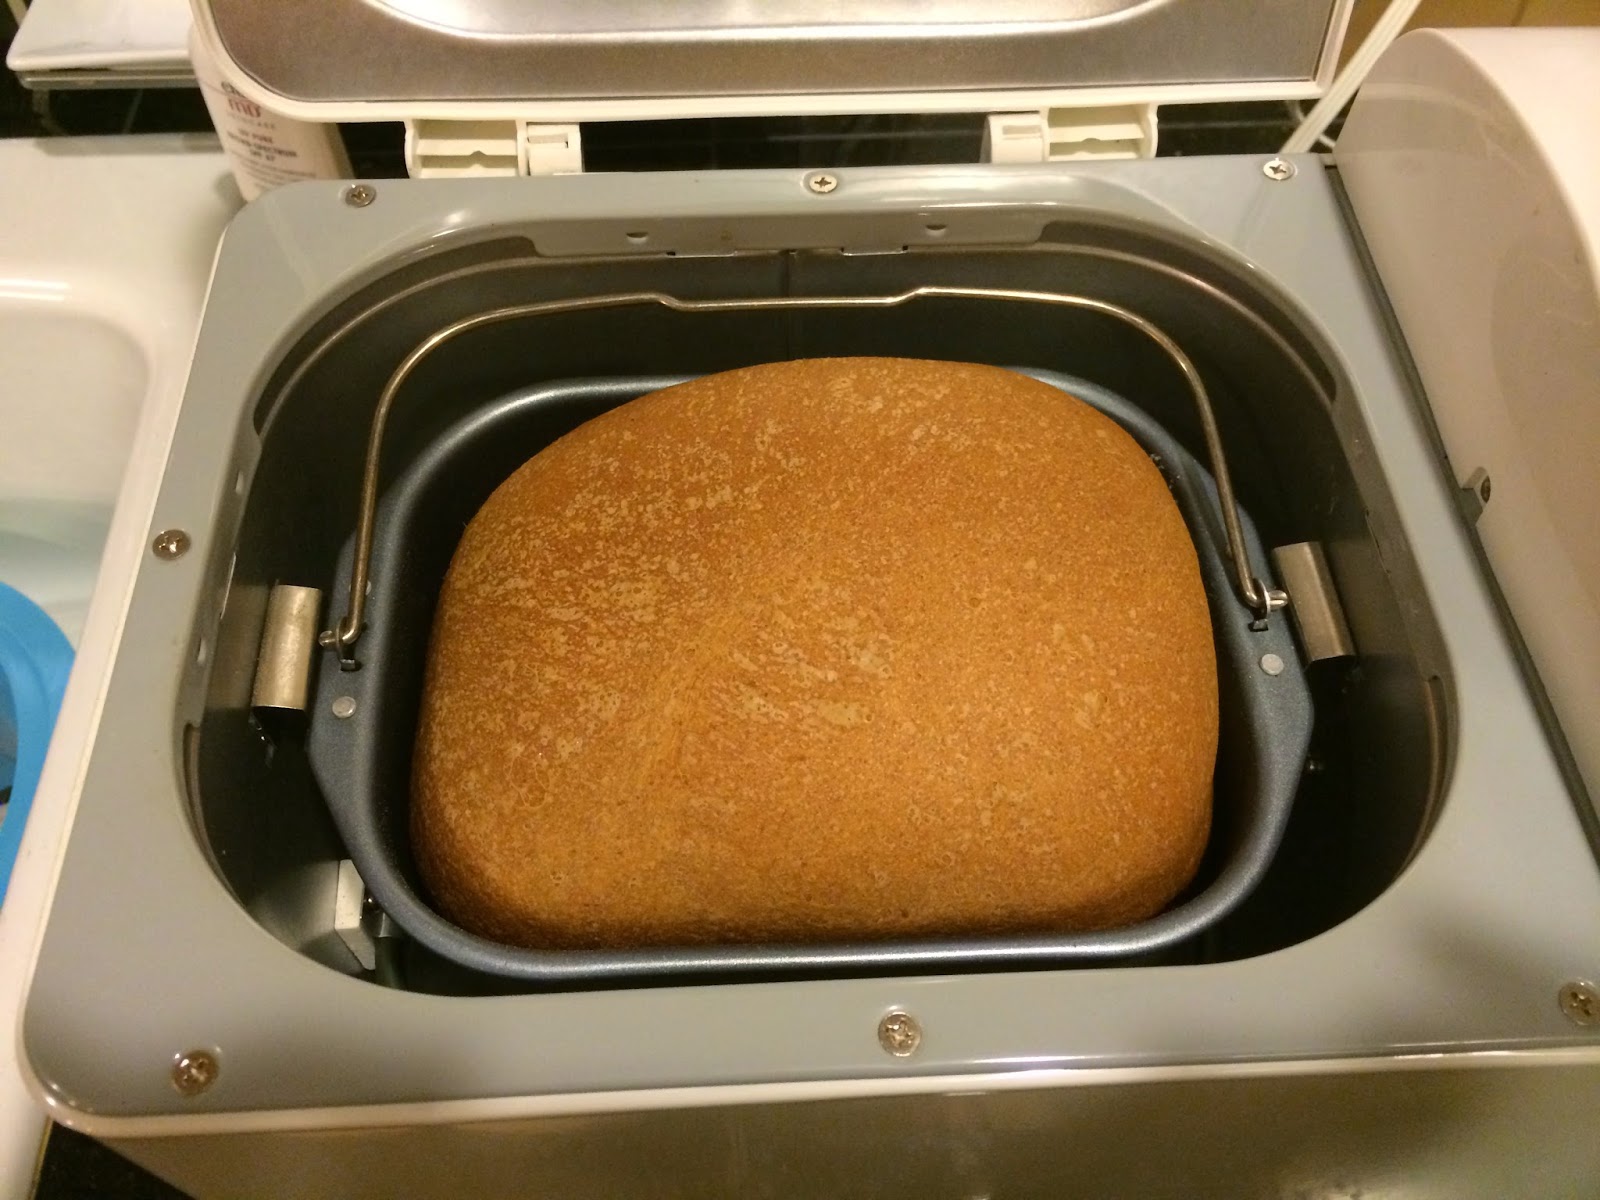
I am on a mission to use the appliances in my kitchen that I've rarely (or never!) used -- or I'm going to get rid of them!  I'm so happy that I tried out my bread machine.  This was a simple recipe to make and the bread was good!

Ingredients1-1/3 cups warm water, about 110 degrees
2 Tablespoons and 2 teaspoons white sugar
3 teaspoons yeast
1/3 cup olive oil
4 cups flour (I used 1-1/2 cups whole wheat flour and 2-1/2 cups white bread flour)
2 teaspoons salt
 Directions
In a bread machine, place water, oil and salt.  Add flour on top of liquids. Pour sugar into one corner of the bread machine basket. Then make a well in the center of the flour and pour in the yeast. 
 Set your bread machine for "basic" loaf, and let it do the work for you! 

Verdict: SUCCESS!  My family liked this bread, and even though I've found another recipe we like ever better, this one is much easier to do because all the steps are in the bread machine!

Friday, May 16, 2014

Day 136: Baked Funfetti Donuts (fail).

Pinterest pin and website link.

These were all-around bad :(  Super sugary, too many sprinkles, horrible-tasting glaze.  Just trust me on this one -- don't waste your time.  I'd suggest hitting up Krispy Kreme instead.

I did like the blog author's idea of piping the batter into the donut pan.  
After mixing up the batter (it will be thick), spoon it into a Ziploc bag, snip off a side at the bottom of the bag, and slowly pipe the batter into the pan.  Voila!
Baked, but not yet glazed.  Too many sprinkles!
Glazed -- and the ones on the far left were achieved by following her instructions exactly.  Once I tasted the glaze (too much powdered sugar taste, in my opinion!), I just "dripped" some on the top instead of covering the entire donut.  Neither tasted very good!
Verdict: FAIL.

Sunday, May 11, 2014

Day 131: Favor Baskets from Scrapbook Paper (success).

Pinterest pin and website link.

These turned out so cute and only required a 12x12 piece of scrapbook paper, ruler, hole punch and ribbon.  After I finished the first one, I kept making them even though I don't have anything to go in them yet!  I'd better start baking and then distributing as friend / neighbor gifts!

I followed the blogger's tutorial exactly, and felt that she described the steps concisely -- go check them out and make your own baskets!  The only tip I would contribute is that it works better to use sturdy, double-sided scrapbook paper.  The folds are a little more difficult to do with the double-sided paper, but in the end, you'll have a much sturdier basket that will hold  more items and is pretty on both the inside and out!
Verdict: SUCCESS!

Friday, May 9, 2014

Friday Favorite: Organizing Cookie Cutters on a Paper Towel Holder.

Pinterest pin and website link.

My kids and I seem to use the same handful of cookie cutters again and again, so I loved the idea of organizing one the select few cutters we use all the time away from the big box we have shoved deep in the pantry!  The one problem is that we now have nowhere to put our paper towels :)  Guess it's time to invest in another paper towel holder!
Verdict: SUCCESS!

Monday, May 5, 2014

Day 125: Chocolate Fudge Cupcakes (fail).

Pinterest pin and website link.

Continuing my project to test how different boxed cakes (besides white or vanilla) taste when using the trick for making boxed cupcakes taste like bakery cupcakes, I attempted a chocolate fudge mix tonight.  For this attempt, I used Betty Crocker's Chocolate Fudge cake mix and eliminated the vanilla (due to my spice cupcake trial with additional vanilla flavoring).  These tasted okay -- but definitely lacked a rich, chocolate fudge flavor, likely due to all the extra ingredients (an additional egg and more butter).  In the future, I would make these according to the package directions.
Verdict: FAIL.

Sunday, May 4, 2014

Day 124: Separating Yolks & Egg Whites (success).

Pinterest pin and website link.

This is genius -- and eliminates my need to buy separated egg whites at the store, which I never think taste very good.  Start with regular eggs and an empty bowl (or two).
Crack a few eggs in the bowl, and then position a (clean and empty) water bottle over one of the yolks.  Make sure the bottle is upright and that you're squeezing the bottle a tiny bit before touching the opening of the bottle with the yolk to remove; release the squeeze once you've made contact with the yolk and quickly turn the bottle right-side up again to contain the yolk inside the bottle.
The first time I tried this I attempted removing more than one yolk (with other yolks still inside the bottle).  I did not have success with this, and ended up with this mess on my hands...all the yolks dripped back into the egg whites while I was trying to "squeeze" up additional yolks.
However, I did have success removing just one yolk at a time, dropping it into a separate bowl and then going back to get another yolk.
Verdict: SUCCESS!