Pinterest pin and website link.
I have a front-loading washer, so I modified this pin based on the comments section below the original post; instead of soaking the pillows in the washing machine, I soaked them in our bathtub.
A few of our pillows look like this (the sheet underneath is pure white, so you can see just how yellowed the pillow is):
I mixed together the following solution in our bathtub and soaked three pillows (FYI: it didn't say how long to soak them, and I think I may have overdone it, as the lining on two of the pillows started to disintegrate after soaking for 1/2 an hour on each side).
Mixture:
Hot water
1 cup of laundry detergent
1 cup powdered dishwasher detergent
1 cup bleach
1/2 cup borax
I then wrung the pillows out, transferred them to the washer and washed them in hot, hot water for two cycles. It took 2+ dryer cycles to get them dry, plus lots of work to fluff out all the lumps. In the end, I ruined two pillows (too lumpy to sleep on anymore and lining is ripped) and the remaining one isn't all that much whiter. From here on out, I think I'll just run them through the washer -- 2 at a time -- with our regular laundry soap and bleach. Most people don't see the yellowed pillows anyway with the pillowcases on!
Verdict: FAIL.
Showing posts with label Home. Show all posts
Tuesday, May 27, 2014
Wednesday, May 7, 2014
Day 127: Upholstery Stain Remover (success).
Pinterest pin and website link.
I had credit at our local kids' consignment store and decided to "purchase" this cute chair (for free!) for my daughter's room. I figured I could re-upholstery the seat, if needed, but this upholstery stain remover did the trick to take the majority of the stains out!
With a clean cloth, blot / scrub at the stain with the solution until the stains are gone (or much less visible). Voila!
I had credit at our local kids' consignment store and decided to "purchase" this cute chair (for free!) for my daughter's room. I figured I could re-upholstery the seat, if needed, but this upholstery stain remover did the trick to take the majority of the stains out!
Chair with original stains:
Ingredients:
Baking soda (enough to cover stains)
1/2 tablespoon of vinegar
1/2 tablespoon of dish soap (I used Dawn)
1 cup hot water
Instructions:
Sprinkle baking soda on the stain and let it sit for 10 minutes. I was very liberal with my baking soda. If taking stains out of carpet, the pin says to vacuum the baking soda up after 10 minutes, but I left mine on and think it may have helped to "exfoliate" the stains out of the fabric in combination with the solution below.
Create a solution by mixing the water, vinegar and dish soap together.With a clean cloth, blot / scrub at the stain with the solution until the stains are gone (or much less visible). Voila!
Here are the before and after shots of the chair upholstery, close-up!
Verdict: SUCCESS!
Friday, April 11, 2014
Day 101: Removing Wax from Candle Jar (success).
Pinterest pin and website link.
I love this idea to save glass candle jars to put household items in! When you're finished with a candle (or you just don't like the scent, which was the case for me), put the candle jar in the freezer for at least an hour.
The cold temperature helps shrink / loosen the wax from the side of the jar. Then, use a dull knife to carefully pierce the wax into pieces that you can then remove from the jar. Peel off the label (this label came off easily, but here's a tip about removing stubborn labels from jars. You'll end up with a jar that looks like this:
Use baby oil and a paper towel to clean the remaining wax, glue and soot from the inside of the jar. Baby oil worked perfectly for this -- and then I washed the jar with soap and water.
Verdict: SUCCESS.
I love this idea to save glass candle jars to put household items in! When you're finished with a candle (or you just don't like the scent, which was the case for me), put the candle jar in the freezer for at least an hour.
The cold temperature helps shrink / loosen the wax from the side of the jar. Then, use a dull knife to carefully pierce the wax into pieces that you can then remove from the jar. Peel off the label (this label came off easily, but here's a tip about removing stubborn labels from jars. You'll end up with a jar that looks like this:
Use baby oil and a paper towel to clean the remaining wax, glue and soot from the inside of the jar. Baby oil worked perfectly for this -- and then I washed the jar with soap and water.
Verdict: SUCCESS.
Thursday, April 3, 2014
Day 93: Using Vinegar and an Iron to Clean Stubborn Carpet Stains (fail).
Pinterest pin and website link.
Despite having a "no shoes in the house" rule, we tend to get large stains on our carpeted stairway. I've been neglecting these stains for awhile, but after vacuuming this morning, snapped a quick picture of the largest stain:
The original pin said to mix 1 part white vinegar with 2 parts water in a spray bottle; I put 1/3 cup of white vinegar and 2/3 cup of water into my spray bottle and shook it up. I sprayed the spot (and the surrounding area that has smaller spots) until saturated; put a damp, white rag over the area; and ironed on the steam setting (the highest setting on my iron) for 30 seconds. There was no change to the spot. I repeated the steps two additional times, and by the end, the main and surrounding spots seemed to be more visible than before I used the solution!
Verdict: FAIL. Instead, I pulled out my Folex Instant Carpet Spot Remover, sprayed the spots and vigorously scrubbed the carpet fibers with an old toothbrush. This stuff works wonders -- there are no more stains!
Despite having a "no shoes in the house" rule, we tend to get large stains on our carpeted stairway. I've been neglecting these stains for awhile, but after vacuuming this morning, snapped a quick picture of the largest stain:
The original pin said to mix 1 part white vinegar with 2 parts water in a spray bottle; I put 1/3 cup of white vinegar and 2/3 cup of water into my spray bottle and shook it up. I sprayed the spot (and the surrounding area that has smaller spots) until saturated; put a damp, white rag over the area; and ironed on the steam setting (the highest setting on my iron) for 30 seconds. There was no change to the spot. I repeated the steps two additional times, and by the end, the main and surrounding spots seemed to be more visible than before I used the solution!
Verdict: FAIL. Instead, I pulled out my Folex Instant Carpet Spot Remover, sprayed the spots and vigorously scrubbed the carpet fibers with an old toothbrush. This stuff works wonders -- there are no more stains!
Friday, March 28, 2014
40 Bags in 40 Days: Week 3 Update.
I'm over halfway done with the "40 Bags in 40 Days" project!
16. Kitchen cabinets -- below counter:
17. Kitchen cabinets -- above counter:
18. Recipe cabinet:
19. Fridge:
20. Playroom toys:
21. Kids' schoolwork: I decided to throw all schoolwork for the year in the drawer of our old changing table...
...and at the end of the year, I'll pick a few items to save for each child and put them in the below Sterilite file boxes. I'm hoping to have only 1-2 file boxes per kid for his/her entire K-12 education (versus the thousands upon thousands of papers that I moved from house to house, finally wading through (and tossing most) in my thirties!).
22. Daughter's bed drawers.
23. Daughter's room.
24. Hats and gloves organization.
16. Kitchen cabinets -- below counter:
17. Kitchen cabinets -- above counter:
18. Recipe cabinet:
19. Fridge:
20. Playroom toys:
21. Kids' schoolwork: I decided to throw all schoolwork for the year in the drawer of our old changing table...
...and at the end of the year, I'll pick a few items to save for each child and put them in the below Sterilite file boxes. I'm hoping to have only 1-2 file boxes per kid for his/her entire K-12 education (versus the thousands upon thousands of papers that I moved from house to house, finally wading through (and tossing most) in my thirties!).
22. Daughter's bed drawers.
23. Daughter's room.
24. Hats and gloves organization.
Thursday, March 27, 2014
Day 86: Seam Ripper as Vacuum Roller Cleaner (success).
Pinterest pin and website link.
My vacuum hasn't been picking up as many things as it used to, and then it dawned on me that I probably need to clean out the roller, a task I haven't done in a long time. Yuck.
I've used scissors to clean out the roller in the past, but using a seam ripper was so much quicker and easier. I will definitely use a seam ripper in the future, and maybe -- just maybe -- clean the roller more than once a year. We'll see...
Verdict: SUCCESS!
My vacuum hasn't been picking up as many things as it used to, and then it dawned on me that I probably need to clean out the roller, a task I haven't done in a long time. Yuck.
I've used scissors to clean out the roller in the past, but using a seam ripper was so much quicker and easier. I will definitely use a seam ripper in the future, and maybe -- just maybe -- clean the roller more than once a year. We'll see...
Verdict: SUCCESS!
Wednesday, March 26, 2014
Day 85: Pool Noodle as Door Holder (success).
Pinterest pin (website link was blocked because it looked like spam).
I wasn't sure that the pool noodle I purchased at the Dollar Tree would work for this pin (it seemed smaller in width than the more expensive ones I've seen), but it worked great -- I just used a serrated knife to cut it down to the length I wanted, and then to make a slit to slide around the door. Our doors make an annoying sound when they are opened, and I'm most bothered by it when I have sleeping kids who inevitably wake up 2 minutes after the loud beep! Since I am constantly going in and out of our garage (we have another fridge/freezer out there, plus keep extra household supplies), I decided to try this pool noodle trick for the door between our house and garage...
It worked perfectly! My littles continued to sleep, I went in and out of the garage without the door slamming or beeping, and as a bonus, when the kids woke up, no fingers were able to be crushed in the door!
Verdict: SUCCESS!
I wasn't sure that the pool noodle I purchased at the Dollar Tree would work for this pin (it seemed smaller in width than the more expensive ones I've seen), but it worked great -- I just used a serrated knife to cut it down to the length I wanted, and then to make a slit to slide around the door. Our doors make an annoying sound when they are opened, and I'm most bothered by it when I have sleeping kids who inevitably wake up 2 minutes after the loud beep! Since I am constantly going in and out of our garage (we have another fridge/freezer out there, plus keep extra household supplies), I decided to try this pool noodle trick for the door between our house and garage...
It worked perfectly! My littles continued to sleep, I went in and out of the garage without the door slamming or beeping, and as a bonus, when the kids woke up, no fingers were able to be crushed in the door!
Verdict: SUCCESS!
Tuesday, March 25, 2014
Day 84: How to Easily Remove Labels from Jars (success).
Pinterest pin and website link.
This worked great to remove a label -- but as I'm typing this, I realize that I read the ingredients wrong and so I made up my own recipe! Here is my empty glass jar with an adhered label:
I tried to remove the top of the label prior to completing the pin, but I didn't have much success...
I then mixed equal parts baking soda and vinegar (she says to use vegetable oil) into a runny paste. I was wondering why she didn't mention that there would be foaming reaction when you mix the baking soda and vinegar together -- but I now realize that it's because she didn't mix those two! Apply a thick layer of the paste over the label portion, let sit for 10 minutes, and then simply wipe away the paper / adhesive stuck to the jar. I'll try the baking soda and vegetable oil combination next time, but this recipe did the trick and didn't leave an oily residue!
Verdict: SUCCESS!
This worked great to remove a label -- but as I'm typing this, I realize that I read the ingredients wrong and so I made up my own recipe! Here is my empty glass jar with an adhered label:
I tried to remove the top of the label prior to completing the pin, but I didn't have much success...
I then mixed equal parts baking soda and vinegar (she says to use vegetable oil) into a runny paste. I was wondering why she didn't mention that there would be foaming reaction when you mix the baking soda and vinegar together -- but I now realize that it's because she didn't mix those two! Apply a thick layer of the paste over the label portion, let sit for 10 minutes, and then simply wipe away the paper / adhesive stuck to the jar. I'll try the baking soda and vegetable oil combination next time, but this recipe did the trick and didn't leave an oily residue!
Verdict: SUCCESS!
Wednesday, March 19, 2014
40 Bags in 40 Days: Week 2 Update.
I'm still loving this project -- although my house feels messier since I'm ignoring all other cleaning-type activities in favor of cleaning just my designated space a day!
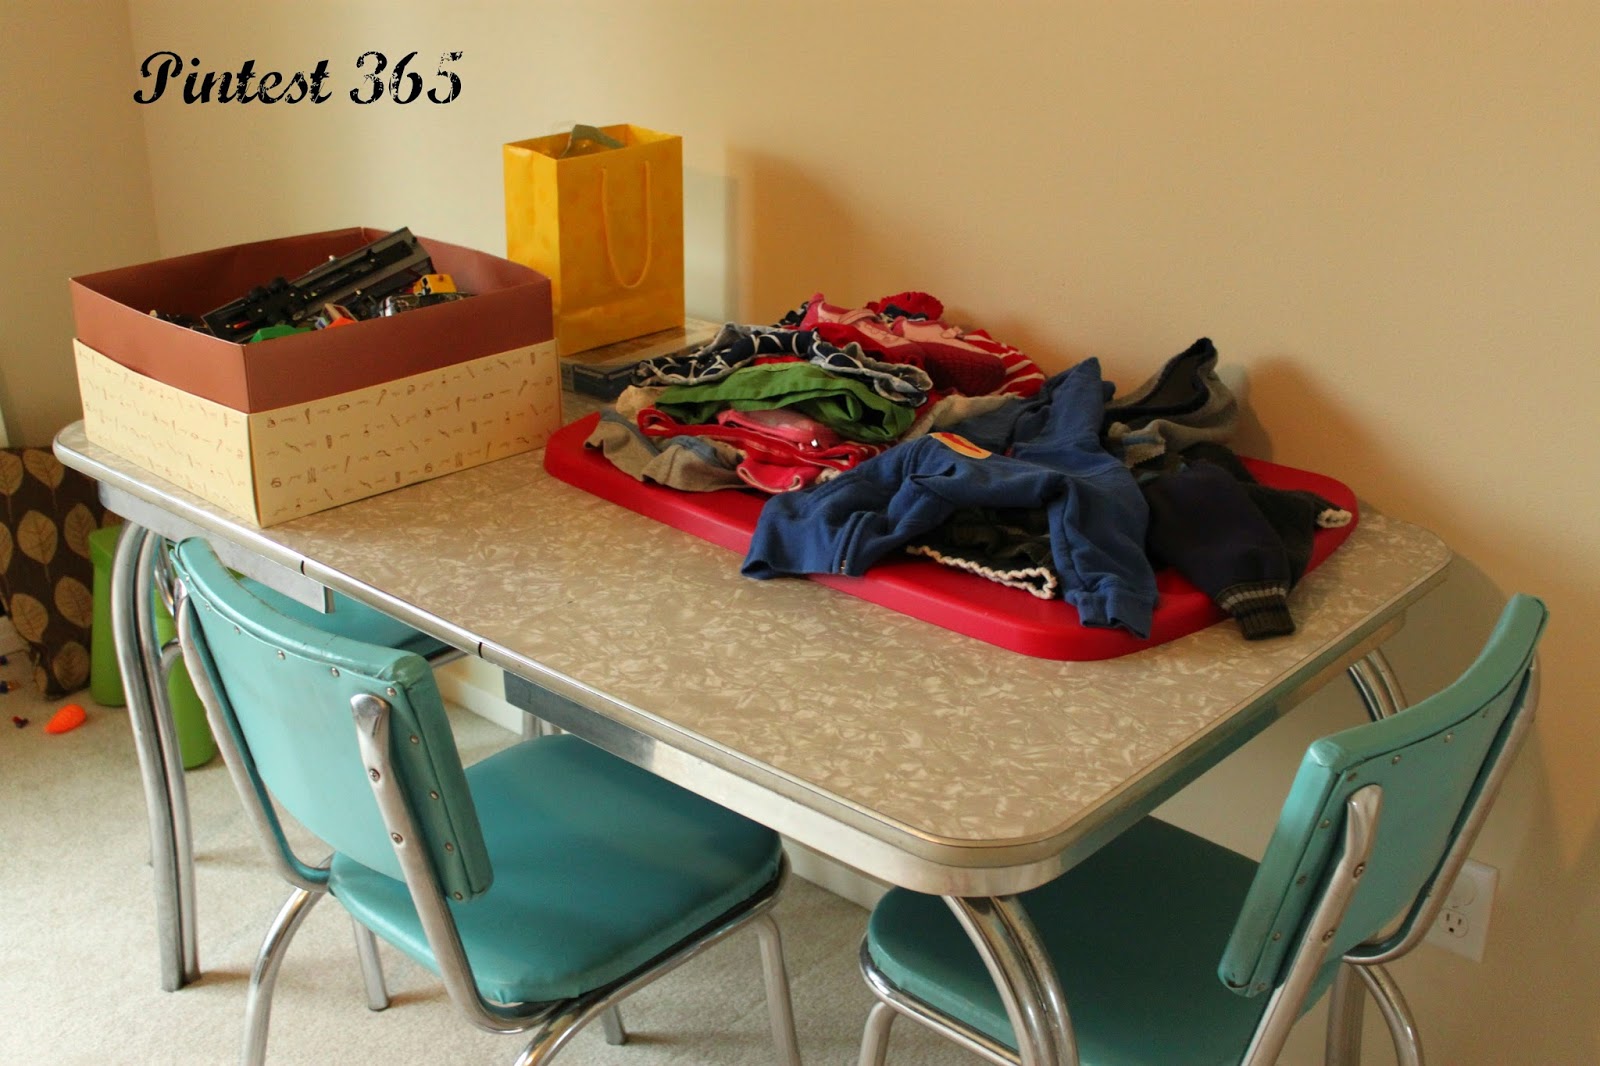
8. Kids' activity table (located in the office): this table is always a dumping ground for anything that comes into the office. I wanted to clear it off so that the kids could be occupied at it when I need to get something done at my desk.
10. Kids' car toys and books:
11. Hallway hooks for coats & backpacks:
12. Downstairs' bathroom cabinet and drawers:
13. Entryway (with hidden shoes in baskets):
14. Daughter's closet:
15. Daughter's bookshelf (we need to get her some new books! I cleared out all the baby board books from her room and her bookshelf is now looking a little neglected):
8. Kids' activity table (located in the office): this table is always a dumping ground for anything that comes into the office. I wanted to clear it off so that the kids could be occupied at it when I need to get something done at my desk.
Before (and this was taken on a good day!):
After:
9. Middle car console:10. Kids' car toys and books:
11. Hallway hooks for coats & backpacks:
12. Downstairs' bathroom cabinet and drawers:
13. Entryway (with hidden shoes in baskets):
14. Daughter's closet:
15. Daughter's bookshelf (we need to get her some new books! I cleared out all the baby board books from her room and her bookshelf is now looking a little neglected):
Wednesday, March 5, 2014
Day 64: 40 Bags in 40 Days (success).
Pinterest pin and website link.
If you've ever visited my home, you may have noticed that I never offer to hang up your coat. There is a very good reason why I don't...
I'll post periodic updates as I work through the 40 days -- and update whether this was a success or fail at the end of Lent!
Verdict: Success
Week 1 Update.
Week 2 Update.
Week 3 Update.
Week 4 Update.
Week 5 Update.
If you've ever visited my home, you may have noticed that I never offer to hang up your coat. There is a very good reason why I don't...
Exhibit A
Most of our house is typically clean and tidy, but there are pockets that I prefer no one to ever see...
Exhibit B
I'm excited to do this "40 Bags in 40 Days" challenge during Lent this year, as I feel like my family spends too much time and money acquiring new things that we don't really need / use. Here's hoping that this purge will help me to scale back on buying (new crap to bring into our house) long after the 40 days are done.I'll post periodic updates as I work through the 40 days -- and update whether this was a success or fail at the end of Lent!
Verdict: Success
Week 1 Update.
Week 2 Update.
Week 3 Update.
Week 4 Update.
Week 5 Update.
Saturday, March 1, 2014
Day 60: Tension Rod to Hang Spray Bottles (success).
Pinterest pin and website/video link.
I forgot to take a "before" picture of my kitchen pantry shelves, but I had A LOT of spray bottles taking up valuable space in there. I decided I wanted to re-vamp underneath my laundry room sink to make room to hang the spray bottles that I needed upstairs, and leave the pantry free for food items and spray bottles that we used downstairs.
Verdict: success.
I forgot to take a "before" picture of my kitchen pantry shelves, but I had A LOT of spray bottles taking up valuable space in there. I decided I wanted to re-vamp underneath my laundry room sink to make room to hang the spray bottles that I needed upstairs, and leave the pantry free for food items and spray bottles that we used downstairs.
Here is a glimpse underneath my laundry room sink before...
...and after!
I hung my tension rod ($4 at Fred Meyer) near the back of the cabinet so that I could easily see into the bins near the front and slide them out as needed. Here's hoping that I will be more motivated to clean upstairs now that I have some products up here!Verdict: success.
Friday, February 21, 2014
Friday Favorite: Dessert Stand as Soap/Sponge Holder.
Pinterest pin (the website link looks suspicious, so I didn't go to the site).
I love my dessert stand turned soap / sponge / paper towel kitchen organizer. It makes me happy to look at while I'm standing at the sink...for the seventeenth time that day...because my kids constantly eat and dirty every dish in the house!
Day 52: Tub and Shower Magic (success).
Pinterest pin and website link.
Instructions: Mix equal parts Dawn and (warmed) vinegar in a spray bottle.
This vinegar and dawn cleaning solution smells so good and works really well to remove soap scum and dirt, plus it eliminated much of the "yellowing" in my white sinks.
Although I was hoping this solution would remove all the old paint stains in my laundry room sink, that wasn't the advertised result. I was so excited about how clean the sinks were that I ran around cleaning out the rest of the house sinks, plus garbage cans and dirty Sterilite bins scattered throughout the house! I'll be using this cleaner again!
Verdict: success!
As I was looking through these pictures, I realized I should also try rubbing alcohol on the laundry room sink, as I had good results in using that to remove old paint from hardwoods (link here) and moldings (link here). Within a few minutes of scrubbing with straight rubbing alcohol, the inside of the laundry room sink looks considerably better!
Instructions: Mix equal parts Dawn and (warmed) vinegar in a spray bottle.
This vinegar and dawn cleaning solution smells so good and works really well to remove soap scum and dirt, plus it eliminated much of the "yellowing" in my white sinks.
Although I was hoping this solution would remove all the old paint stains in my laundry room sink, that wasn't the advertised result. I was so excited about how clean the sinks were that I ran around cleaning out the rest of the house sinks, plus garbage cans and dirty Sterilite bins scattered throughout the house! I'll be using this cleaner again!
Verdict: success!
As I was looking through these pictures, I realized I should also try rubbing alcohol on the laundry room sink, as I had good results in using that to remove old paint from hardwoods (link here) and moldings (link here). Within a few minutes of scrubbing with straight rubbing alcohol, the inside of the laundry room sink looks considerably better!
Subscribe to:
Posts (Atom)


+text.jpg)